Good plumbing is an art, as it is a science. And, even good plumbing can go wrong.
Sometimes you need a plumber. Other times, there might be a trick or two that will get the job done, and save you a nice chunk of change (and time).
In this article, you’ll find every bit of advice a plumber might give you to help manage and maintain your plumbing system along with some general information that may be useful.
If you’re not counting gas lines, the term plumbing system is an umbrella term usually covering two systems:
The water supply system is the system that provides water to your home. Most of us use a public water supply system, however, many homeowners in rural areas use their own wells instead.
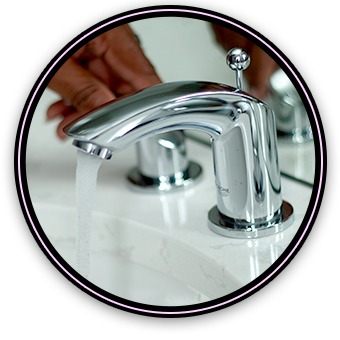
The water supply can be controlled in the home via supply valves. The main water shut-off is usually near the foundation wall where the water supply enters the home. However, it might be located outside of the home. If you don’t know where the main water valve is located, you should find it before you need it!
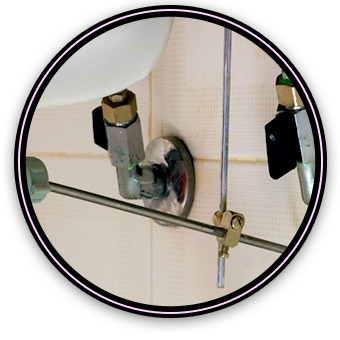
You should also find stop valves near any fixtures that use water. You can often find these valves under sinks, beside toilets, behind showers, or in basements. If you notice that your fixtures are missing supply shut-off valves, consider installing water supply valves as they’re useful and can greatly help you during a plumbing emergency or fixture replacements.
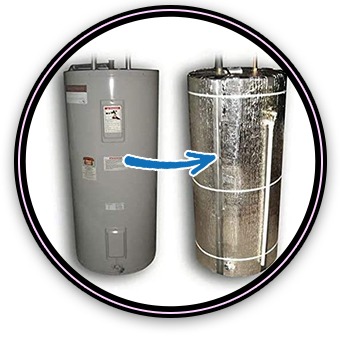
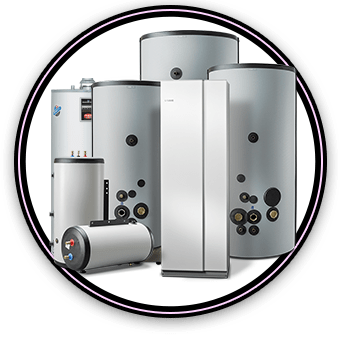
Hot water requires one additional step: your water heater. Cold water enters your home through the main water supply and makes its way to the water heater where it is heated before it’s used. There are several types of water heaters, which differ in energy source and storage. Most of us have hot water tanks which heat and store hot water so it’s available as we need it, although tankless water heaters are growing in popularity as a greener and more efficient alternative.
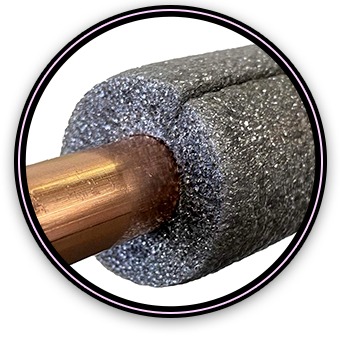
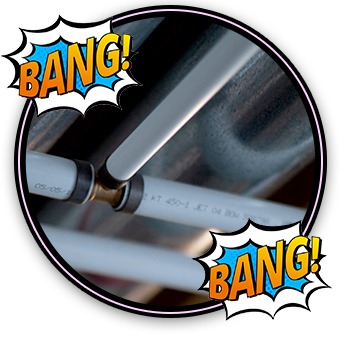
Water supply lines installed throughout your home are often made of copper or PEX, although there are many others.
The drainage system is a series of drainpipe installations throughout your home, connecting all of the drains to your local sewer system. Public sewer systems then carry waste from your home to treatment facilities, while rural areas often use septic tanks instead.
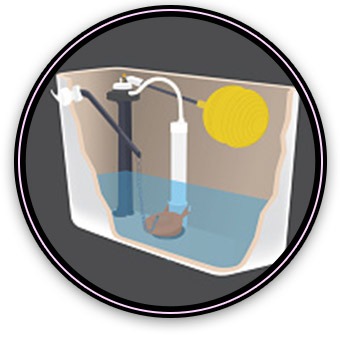
When in use, your drainage system uses gravity to move wastewater through your drain pipes. The wastewater is carried through the slopes in your plumbing system and out of your home. Although fairly simple in concept, your plumbing system uses an ingenious system of slopes, vents, traps, and more, to make everything function properly.
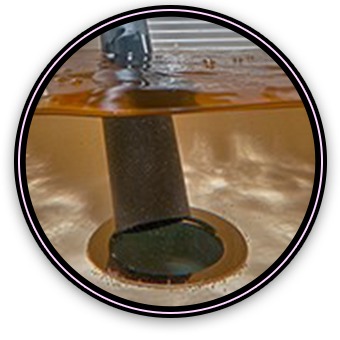
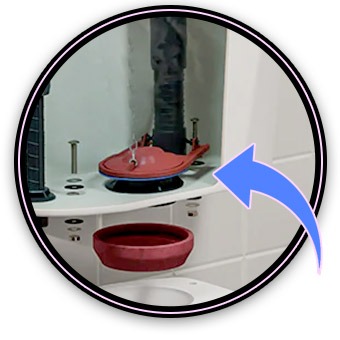
To protect you and your home from sewer gas rising through your drains, P-traps are installed underneath drains, or a similar trap is built directly into toilets. If your plumbing system is used regularly and functioning properly, water should always remain in the trap. This water forms a barricade that blocks the sewer gases and dangerous pathogens from entering your home.
As water flows out of your drain pipes, properly placed vents allow air to enter the pipe which replaces the water as it flows out. Without proper venting, a vacuum would develop in your plumbing system which would disrupt water flow, cause clogs, and draw the water from P-Traps out.
When installing your drainage system, plumbers must abide by strict plumbing codes that take proper slopes and venting into consideration.
It’s very important to know the location of your water supply valves, especially your main water supply valve.
Individual plumbing fixtures should have independent supply valves (or water stops), but not always. These independent valves are nice because if you’re experiencing a plumbing emergency with one fixture, you can disable the water to the single fixture. Otherwise, you need to locate the main water shutoff and cut water to your entire home.
You will usually find the main water shutoff in the basement of your home, near the foundation where the water supply first enters the home. Follow this pipe to a nearby valve, and you’ve found your main water shutoff. If you don’t have a basement, you can often find the main water shutoff in the crawl space underneath your house.
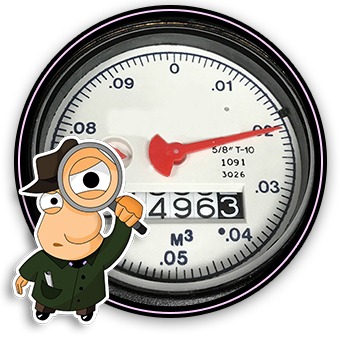
If you still can’t find the main water shutoff, you can sometimes find a shutoff outside in the meter box. Somewhere near the perimeter of your property, you should find a cover. Once you open the cover, you’ll see the meter and shut-off. It’s important to keep access to this box available in case you need it.
Like most problems, prevention is the best cure. The same is true when it comes to a clogged drain.
Although fairly simple in concept, your plumbing system is intelligently designed and reliable. A good plumbing system that is treated right should give you very few problems.
That being said, most of us will deal with a slow drain, drain clog, or blockage at some point in our lives.
The good news is that you can avoid most clogs by following these tips:
Your drain system is designed for wastewater and human waste. Even toilet paper can give you trouble sometimes, and it disintegrates fairly easily. If you avoid putting some things in your drain, you might avoid calling a plumber. Some of these might sound painfully obvious, but some might surprise you.
It’s best to pour grease into a disposable cup and dispose of it in the garbage when it hardens.
Pro Tip: Don’t be stingy with dish soap. Dish soap is amazing at cutting through grease, and this can help prevent it from building in your drain.
Over time, it’s very common that soap scum and grease will build up in the drains, even if you’re doing your best to avoid it.
Routinely cleaning your drains with simple DIY solutions can help prevent slow drains and drain blockages.
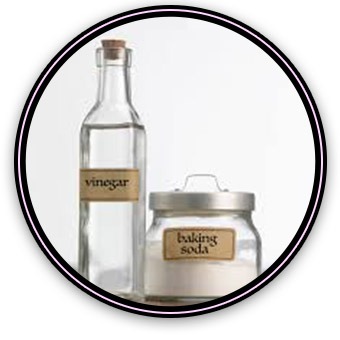
A common trick is to pour ½ cup of baking soda into the drain, followed by ½ cup of white vinegar. Let it sizzle for about half an hour, before flushing it down with hot water. I’d recommend nearly boiling a kettle of water and dumping it all at once, followed by hot water from the tap.
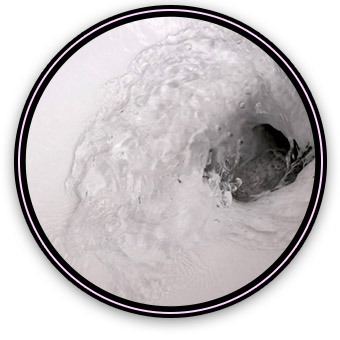
If you have some grease building in the drains, it can be very difficult to get rid of. Plumbers often offer a Hydrojet Service, where they basically pressure-wash the inside of your drains. This does a great job and blasts buildups away.
Due to the high pressure and velocity of the water stream, Hydro Jetting tends to offer a superior cleaning compared to other methods. Some other methods poke holes in blockages and clogs. Hydro Jetting blasts blockages and clogs to pieces, annihilating them and preventing their recovery.
Our plumbers are local drain cleaning experts. Time and time again, our valued customers praise us and give us kudos for successfully completing a job where our competitors failed.
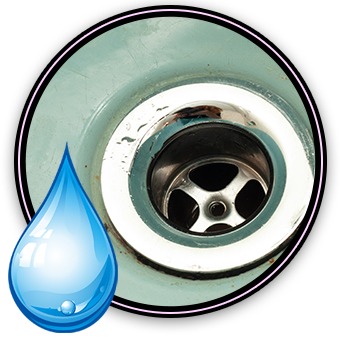
If your sink is draining slowly or isn’t draining at all, you might not need a plumber just yet.
Try some of these do-it-yourself drain cleaning hacks before booking a plumber appointment.
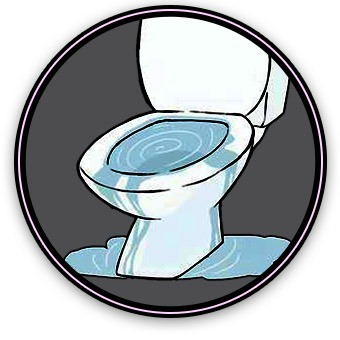
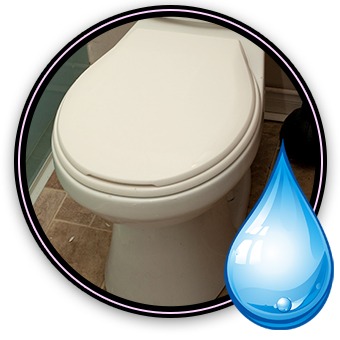
If you experience a toilet clog, there are many at-home solutions you can try before calling a plunger. We advise that you prepare beforehand, by laying newspaper or towels on the floor, in case of an emergency.
Before calling a plumber, try one or some of these techniques to unclog your drain:
Pour ¼ cup of dish soap into the toilet, and begin heating up water. I like to use a kettle and bring the water to a hot temperature, but not boiling. Boiling water can crack the porcelain.
You may need to heat many kettles, and pour them into the toilet one after the other. But this process works far better than most of us would expect against regular clogs. However, it won’t help much against blockages caused by hard solids like plastic.
If the toilet clog doesn’t want to go deeper into the drain, it might come back out instead.
You insert the snake into the drain and begin feeding it deeper. Once you feel the blockage, you twist and push the snake through the obstruction. Sometimes you can also pull the obstruction out.
Use an auger that is designed for toilets. They’re reasonably inexpensive and they can often clear a blockage in the toilet. However, be very careful and follow the instructions. Porcelain scratches very easily, and you can easily damage the inside of the bowl which doesn’t look appealing.
Some people find luck with using cutting a wire hanger, wrapping the end with a rag and tape, and using it as a makeshift auger. This might work, but again, be careful with the porcelain.
A good plunger makes a big difference in the exciting world of plunging. You don’t need anything fancy, just a rubber plunger with a rubber lip (called a flange plunger).
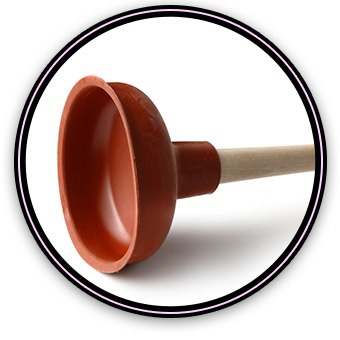
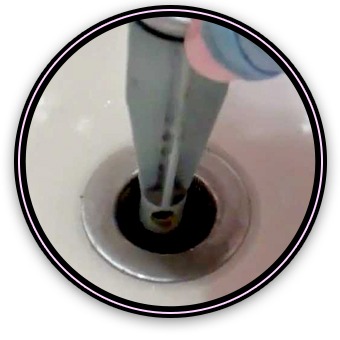
Insert the plunger into the toilet at an angle, to allow water to enter the inside of the plunger. Place the flange into the drain so that the lip fills the inside of the drain, and begin plunging. The pressure from pushing combined with the suction from pulling will dislodge most clogs. It can take many plunges before clearing the drain. But remember: don’t go nuts. If the clog isn’t budging and you’re hulk-smashing the plunger, you can break the wax seal or even cause a leak in the pipes.
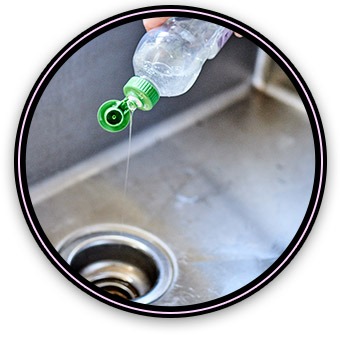
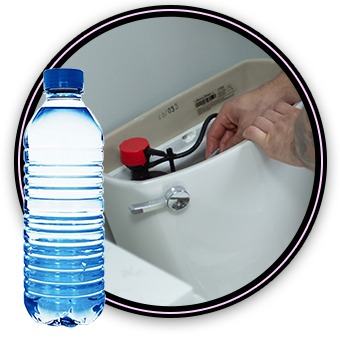
Some people have found luck using a water bottle was a makeshift plunger. Put the mouth of the bottle into the drain, and push down on the bottle, crushing it and forcing water into the drain. Personally, I’ve never tried this trick.
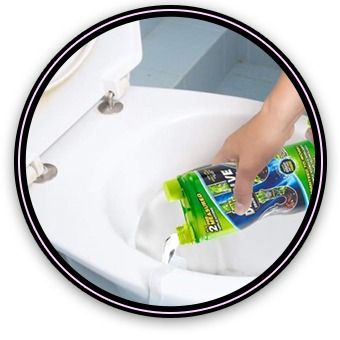
Also, never use a plunger if you’ve put chemicals into the toilet bowl.
Pro Tip: Wear safety glasses and a face mask. Splashback happens.
However, enzyme waste removal products will break down organic materials that have formed a blockage.
The downside is that enzyme cleaners take some time to work. Let them work their magic for a day or so.
Pour one cup of baking soda into the toilet and one cup of vinegar. Give it some time to work its magic, and try flushing.
Will this work? Maybe. But a plunger uses the same idea and works great.
Pouring a generous amount of dish soap into the drain, followed by some hot water might loosen up the clog and allow it to flush down the drain.
If you’re attempting to plunge a double sink, block the second drain to keep pressure when plunging.
If your ring falls down the sink drain, you may get lucky and find it in the P-Trap, too!
Furthermore, chemical drain cleaners may cause damage to the inside of your pipes.
On the other hand, Enzyme Drain Cleaners are designed to be safe in your drains. They take longer but they can work. But they will only work on organic material. Plastic objects will remain stuck, even with enzyme drain cleaners.
They’re probably not fruit flies, they’re likely drain flies.
Drain flies are drawn to food particles and other organic material that is stuck in the drain. If you notice fruit flies, you likely need to clean your drains.
Drain fly eggs can be especially difficult to kill, so it may take some effort to get rid of all of them.
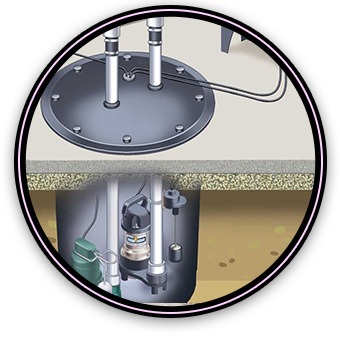
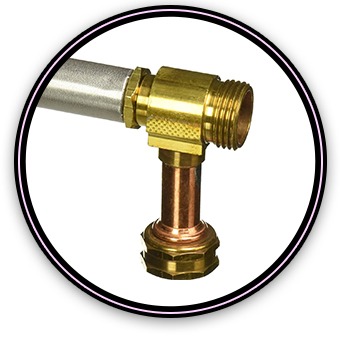
A backflow preventer is a one-way valve that prevents sewage and wastewater from coming back through the drains. They protect your home from sewer overflows during heavy rains and spring thaws, as well as other sewer issues.
Considering the amount of damage that a sewer flood can cause, they’re an extremely valuable protective plumbing device.
Step 1) Lift the tank lid.
Step 2) Observe. Is water continuing to flow through the overflow tube? This probably means that you have an issue with the Fill Valve.
If that’s not the issue, try using a stick to press down on the flapper. If the water stops running, then you probably need to clean or replace your flapper.
First, lift the float valve to ensure that the water stops when the float valve goes up. If it does, then you probably just need to adjust the height of the float.
You’ll notice a screw that runs along the side of the valve. Turn it counterclockwise to lower the float cup. This will adjust how high the water goes inside the toilet tank. Lower the water level so the float rests below the overflow tube.
If this doesn’t solve the problem, you may need to replace the fill valve. Simply, buy a new one, turn the water supply off, empty the tank, follow the instructions to install (pretty easy), and turn the water supply back on. This should fix your problem.
First, buy a new flapper, turn off the water supply, empty the tank, and install the flapper. You’ll want to make sure that when you reconnect the chain to the handle lever, it’s not too short. You want the flapper to remain closed when you don’t turn the handle!
If the fill tube is positioned correctly and your toilet uses a float, try adjusting the float. You can adjust the float to allow the proper amount of water into the tank.
If neither of these solves your problem, you may have a partial clog in your drain and your toilet is unable to flush properly. Try some of the steps in the drain cleaning section above to solve this problem.
First, try adjusting the chain connected to the flapper. You want the flapper to lift when you flush, and you want it to seal when not flushing. A slight adjustment could make the difference for a good flush.
Another thing you can try is ensuring that the flush handle is properly tightened. Use an adjustable wrench to tighten the handle. Don’t tighten it too tight!
First, pry the bolt caps up. Insert your screwdriver into the bolts to hold them, and use the wrench underneath to tighten. Voila! Your toilet seat should be stable.
First, lift the toilet tank lid, grab the float valve (or float), and lift. This will immediately stop more water from entering the toilet.
Next, shut the water off at the supply valve beside the toilet.
Now, you should have time to fix the cause of the overflow.
If not, you may need to replace the flapper.
If neither of these solutions helps, you may have a clog in your toilet drain. Follow some of the steps above to eliminate the clog or blockage, or call a professional drain cleaner (like John The Plumber!) to fix the problem.
First, clean the toilet the best you can. You can buy toilet bowl cleaners, or use vinegar, and work away at the grime with a toilet scrubber.
For the more persistent stains, you can try using a 2000-grit sandpaper or a pumice stone. Use sandpaper to scrub the porcelain. 2000-grit is strong enough to clean stains, but should be gentle enough to leave your porcelain in good condition.
Flush.
Next, use something thin and hard to manually clean each jet, like a wire hanger. Be careful, as porcelain is fairly delicate. You’ll want to do this to each jet around the rim as well as the main jet at the bottom of the bowl.
Cleaning the jets like this might increase the strength of your flushes, taking away the opportunity for the matter to stick and build up.
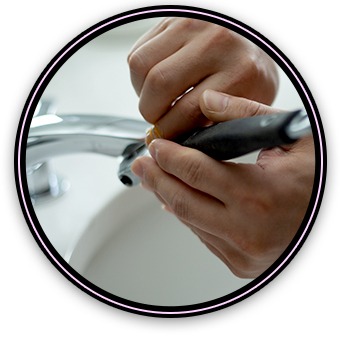
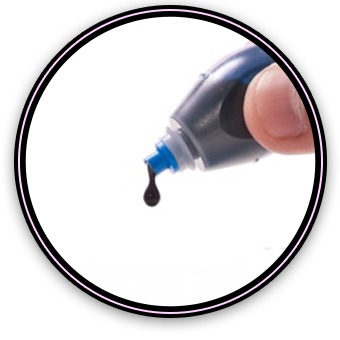
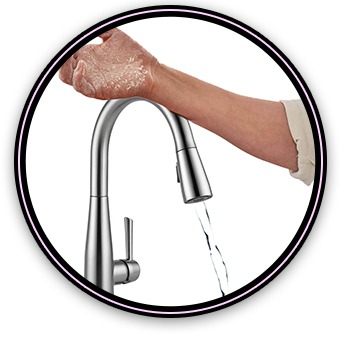
A drip here and a drip there adds up. A leaking faucet should be addressed sooner than later!
You will need to buy new faucet cartridges or a faucet repair kit. Purchase the kit or stem that corresponds with the faucet or faucet brand.
If you’re not sure what cartridge or stem to buy, follow the steps below to remove the cartridge and bring it to the hardware store.
If you don’t have a supply valve near the sink, you can turn off the main water shutoff for the entire house.
After the water is shut off, turn the faucet handles to drain water in the line.
We’d advise that you place the stopper or a towel in the sink, to protect you from losing pieces down the drain during the next steps
After the screws are loosened, pull the handle to remove it.
After the handle is removed, remove the cartridge by loosening the nut with a wrench and pulling it out.
After the cartridge is removed, clean and dry the area with a cloth or towel.
If you purchased a repair kit, now is a good time to replace the O-rings.
Insert the new cartridge, and put it all back together.
Lastly, turn the water back on and test.
To clean a shower head very easily, you can fill a plastic bag with vinegar, lift it up so that the shower head sits in the pool of vinegar, and tie the bag around the shower head.
Let it sit for a few hours, then rinse the shower head off and run it.
This will clean your shower faucet and it may increase the consistency and pressure of the water flow.
Cleaning it is quite simple, just be careful not to damage it during removal.
The first thing you’re going to want to do is place the stopper in the sink. You don’t want anything going down the drain!
Next, to remove the aerator, grab the aerator with your hand and turn it clockwise. If it’s stuck, you can use pliers, just be extra careful not to cause any damage.
After the aerator is removed, disassemble the parts, but remember how they fit together.
Once disassembled, clean the parts. You can rinse them, and even use a toothpick to clean them.
The metal parts, like the screen, can be cleaned by soaking them in vinegar.
If some of the grime remains after soaking, use a toothbrush or a scrubby to clean them off.
Lastly, rinse the parts, reassemble them, and put the faucet back together!
Voila! Your faucet should again have a steady flow of water from the tap.
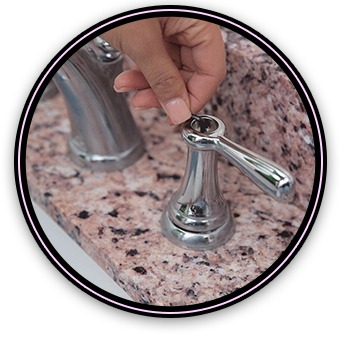
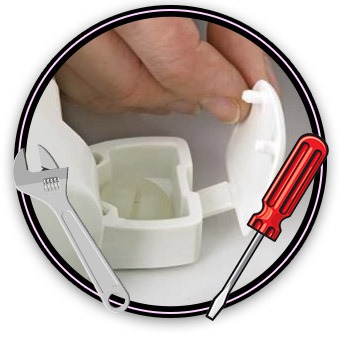
A stuck sink stopper is pretty irritating. Unfortunately, the stopper is probably broken. But the good news is it’s not too difficult to replace!
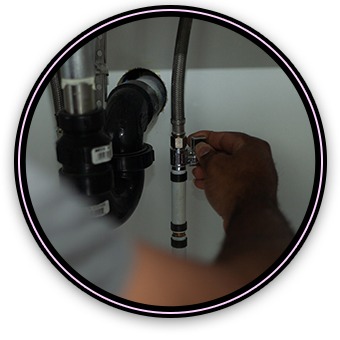
The way the stopper is meant to work is there is a rod behind the faucet that pulls up and pushes down. This rod is connected under the sink to a lever that connects into the drain.
If everything appears to be connected properly and it’s still not working, you probably need to replace the stopper in the drain. You should be able to find a replacement in your local hardware store.
Once you’ve tested that it’s working, reattach and tighten the sealing nut. Don’t overtighten, but make sure that it’s tight.
Attach one side of the clip to the lift arm before connecting the arm to the rod.
The rod under the sink that connects to the faucet rod has several holes in it. Based on whether the rod is pulled out behind the faucet and the position of the stopper in the drain (closed, I assume), you will find a hole in the rod that fits the best. Insert the lift arm into the appropriate hole, and attach the other side of the clip to the lift arm behind the rod.
After everything appeared to be fixed and connected properly, go ahead and test the stopper by pulling the rod behind the faucet and pushing it back.
Adjust it so the stopper blocks the drain, and pour some water in the sink. If the drain holds water and the drain is sealed, you’ve nailed it!
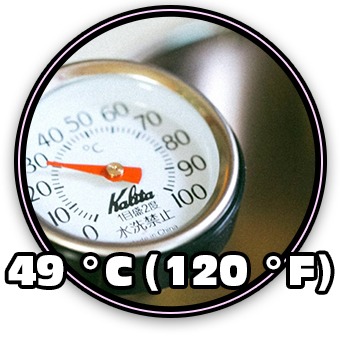
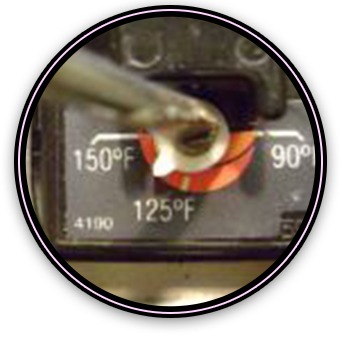
Water heaters are a necessity, and they’re not cheap. But a couple of adjustments here and a bit of maintenance there can save you money on utility bills and save you from a water heater repair or replacement for a while longer.
Instead of calling your plumber to adjust the temperature, you can easily adjust it yourself.
Next, remove the thermostat covers and insulation. There is usually a cover and thermostat for the top element and the bottom element.
Using a flat-head screwdriver, you can adjust the water heater temperature. You should see temperatures marked around the knob. Adjust the temperature to 120°. Set the top thermostat to a slightly hotter temperature than the bottom thermostat.
Flushing the tank once or twice a year is a good goal.
Although flushing the water heater is relatively easy, it’s wise to have a licensed plumber come from time to time for the flush so that he can inspect the hot water tank for rust or other issues.
But if you want to save some money and take on the task yourself, follow these steps:
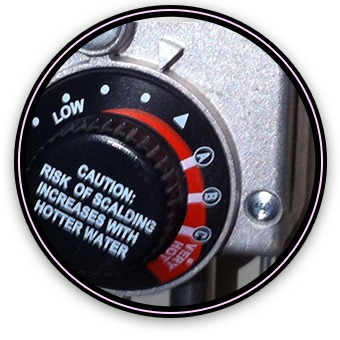
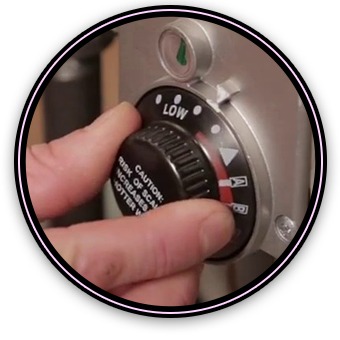
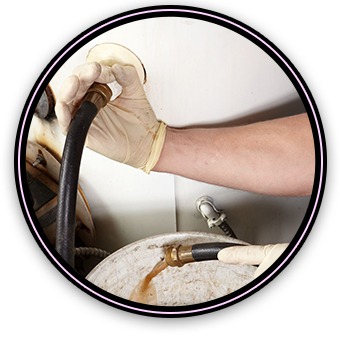
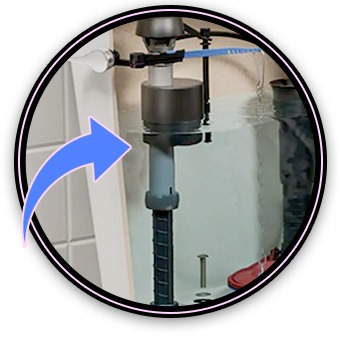
A hot water tank is a big container that fills with water and heats it. As matter heats, it expands. To prevent any incidents relating to a container filled with hot pressurized water, every hot water tank should have a functioning Pressure Relief Valve.
One of the more common issues with hot water tanks is the pressure relief valve is no good. If it doesn’t work, the tank can’t regulate the pressure inside. This can be dangerous.
It’s wise to test the pressure relief valve every 6 months or so.
Next, simply lift the valve up and down. Water should eject through the relief valve into the bucket. If water pours out, everything is good.
If no water ejects, or water only a trickle pours out, you’ll need to contact a plumber to replace the pressure relief valve.
Although new technologies are coming out every day with higher efficiencies, your water heater may still have years of life left and not require a more efficient replacement. But don’t worry, you can easily and affordably increase the efficiency of your water heater by insulating it.
Your local hardware store likely carries water heater jackets. You can purchase an insulated jacket for your water heater based on the size of the tank (e.g. 60 gallon).
They’re inexpensive, easy to install, and can save you money on your utilities.
To reduce some of that heat escape, you can purchase foam pipe insulation from most hardware stores. It’s fairly inexpensive and very easy to install. Just be careful when you’re installing it not to manhandle the pipes, as you don’t want to unintentionally damage your system.
Furthermore, turning it off and starting it up is harder on the machine than maintaining a temperature.
We recommend turning the temperature down instead of shutting the unit off. Better yet, if your system has a Vacation mode, use that instead!
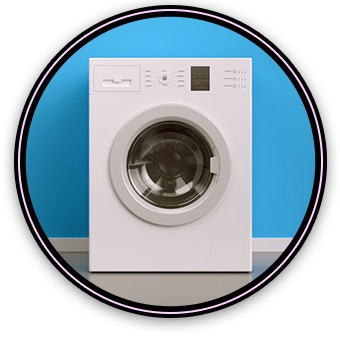
Like any water-using appliance, washing machines pose certain risks to your home when things go wrong. In fact, water damage from a leaking water machine is a common insurance claim.
To avoid this, check the hose once a year. If the washing machine hose looks weathered and worn or if it has any blockages. If it’s clogged, clean it, and if it doesn’t look too good remember that it’s far cheaper to replace a hose than to deal with a leak.
Also, check the condition of the seal if the unit is a front-loading machine from time to time. Again, if it appears to be in a vulnerable state, replace it!
Your refrigerator instruction manual should tell you what filter model number you should purchase, or you can look online by searching the refrigerator models information.
Once you’ve acquired a new filter, follow the instructions in the refrigerator instruction manual to replace the filter. You’ll need to locate the water filter, turn off the water supply at the valve, remove the old filter, and install the new filter before turning the water back on.
Once the power is off, remove the blockage with tongs or pliers.
If successful, you can turn the power back on and test it. You may need to press Reset on the machine.
However, we don’t often think about our sump pumps – so a problem can go unnoticed.
We recommend periodically testing your sump to ensure that you don’t require a sump pump replacement.
If it doesn’t, call John The Plumber for a sump pump service https://johntheplumber.ca/sump-pump-services/!
It’s wise to clean the sump pit regularly. If you see debris floating around, skim it before it gets stuck in the pump.
Remember that sump pumps usually last around 7 years. Don’t wait to find out the hard way that it isn’t working!
We recommend installing battery backup sump pumps. A secondary sump pump can protect you if the primary pump fails, and a battery-backup will protect you when the lights are out.
When winter is around the corner, do yourself a favor and protect your outdoor faucet (and you from frozen pipes!).
The first step is to remove the garden hose.
The second step is to shut off the water supply to the outdoor faucet. This valve should be in your basement.
The third step is to open the outdoor faucet when the water supply is off to drain the line.
The most important advice is to install a Frost-Free Outdoor Hose Bib if you don’t have one already. These are specially designed outdoor faucets meant to help protect you from water damage on the faucet and inside your home.
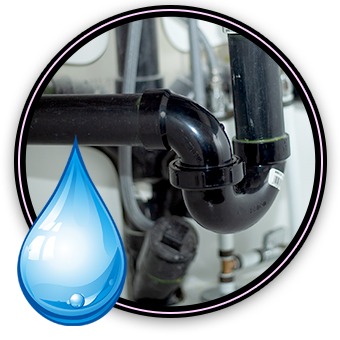
While most leaks have obvious signs such as a puddle or damaged drywall or ceilings, some leaks are a little more subtle.
While some leaks are sneaky, pay attention for these signs:
Remember that water moves around. The signs of a leak, such as puddles or wet drywall, aren’t always directly under a leak. Water can travel along the lines and structure of your home to mysteriously move into weird places.
Next, find your water meter. Make note of the current water usage.
Wait a few hours and check back. If the water usage has increased and you haven’t used any water, then you very likely have a leak somewhere.
For example, flush some blue water down the toilet in one bathroom, orange water down a different toilet, and green water down the kitchen drain.
If the leaking water changes colours, you can use the colour to identify which drain is responsible for the leak.
If the water in the bowl changes colour, your toilet tank requires some attention.
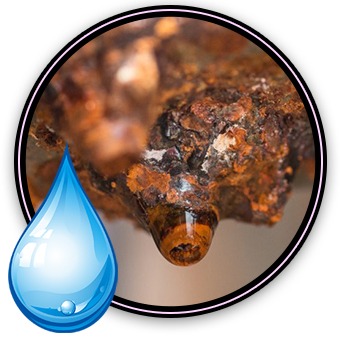
A pipe with a major leak often requires repair or replacement.
However, sometimes you can get away with a quick fix.
If you experience a leak, these solutions may help you in the moment – but they’re not a permanent fix.
You should still consider having a plumber address this problem.
Don’t hang things from your pipes.
While it may seem like a convenient place to hang wet laundry, your plumbing system is designed to carry weight in its system, not hang weight. You can easily damage the joints and pipes in the system if you hang anything from your waterlines or drain pipes.
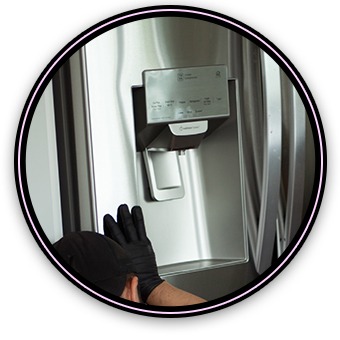
Before purchasing a home, we recommend hiring a professional plumber to do a thorough inspection on the home when possible.
A plumber can test the fixtures, inspect the pipes, check the appliances, and do a camera inspection to ensure that the unseen pipes won’t require any immediate and costly repairs.
That being said, if you don’t want to hire a professional, you can do a quick inspection yourself.
Throughout the inspection, listen carefully and smell for any signs of issues. Strange sounds when using fixtures may indicate issues, and your nose may identify underlying issues that have been covered up.
Does this trick work? Yes.
However, be careful, because using less water in the flush means a less efficient flush. And, a less efficient flush may lead to a buildup of matter in your drain system.
This can happen when a high-pressure waterline closes. The high-pressure water flow crashes when the valve closes, causing the pipe to jerk and make a racket.
Not only can the sound be annoying, but it can also cause damage to your plumbing system over time.
But there are solutions!
Well, a Water Hammer is a banging noise that happens because flowing water suddenly comes to a halt. The force of the water bangs the pipe.
Water Hammer Arrestors are nifty little attachments that absorb the energy when the flowing water comes to a complete stop. So, instead of loud and surprising noise every time you shut off the water supply, your pipes will sound and work normally!
John The Plumber is proud to have grown and satisfied the needs of countless Ontario homeowners.
We’re excited about the opportunity to serve our neighbours far and wide, offering a level of service that few plumbing companies can match.
When you’re dealing with drain issues, remember that John The Plumber offers:
Drain Cleaning in Ottawa • Drain Cleaning in Orleans • Drain Cleaning in Barrhaven • Drain Cleaning in Nepean • Drain Cleaning in Kanata • Drain Cleaning in Stittsville • Drain Cleaning in Toronto • Drain Cleaning in Mississauga • Drain Cleaning in Etobicoke • Drain Cleaning in Oakville • Drain Cleaning in Burlington • Drain Cleaning in Hamilton • Drain Cleaning in Kingston • Drain Cleaning in Brockville And, more!
visibility_offDisable flashes
titleMark headings
settingsBackground Color
zoom_outZoom out
zoom_inZoom in
remove_circle_outlineDecrease font
add_circle_outlineIncrease font
spellcheckReadable font
brightness_highBright contrast
brightness_lowDark contrast
format_underlinedUnderline links
font_downloadMark links