Leaking Tap Keeping You Up At Night?
Faucet Repairs Services Kingston
Are you awake all night listening to an annoying and constant sound coming from your taps? Losing sleep and your mind a bit all night long? Sounds like you may have yourself a case of the drips! We know how frustrating and annoying a leaking tap can be but do not despair Kingston – not only can it be fixed; you may be able to do it yourself with no help from us! Keep reading!
Helpful Tips for Your Faucet Drips
One of the main reasons you find yourself with a leaking tap in the first place is because of something call a compression faucet. It’s become loose. Sounds intricate but it’s not. What this means is that a washer simply needs to be replaced. In the hopes of saving you a few dollars we have provided some step by step instructions on below so you can try and do this yourself.

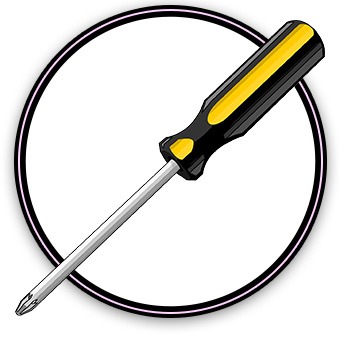
A Philips Screwdriver

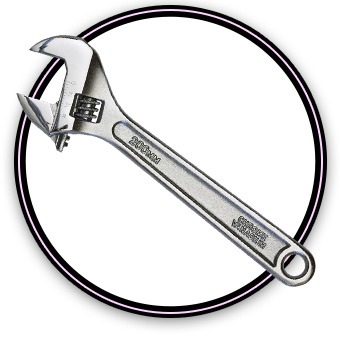
A wrench that is adjustable

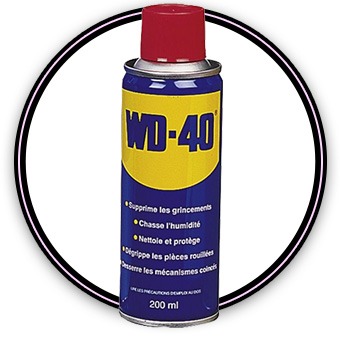
Penetrating oil – WD-40 is very popular!

A packet of O-rings and replacement washers
NOTE: It’s a good idea to bring your existing washer and O-ring to the hardware store for guidance. They come in different shapes, you’ll need to know which one is the correct fit for you.
The Steps to Fix That Leaking Tap:
1: Shut Off The Water: Below your sink are your pipes. There you will find a knob, it is to shut the water supply off for that faucet. Ensure you turn it off; double check by testing your faucet.
2: Pick Off Faucet Tops: If you look at the top of your faucet you will see a flat plastic piece; it’s decorative. Take a flathead screwdriver and pick that piece off. Underneath there is a screw that the pretty piece was hiding; unscrew it and you will be able to remove the handle.
3: Remove and Inspect: What you will have left is the stem; depending on the type of stem it may pop right off or you may have to twist it but you need to remove it. Once you’ve done so, inspect all pieces for chips/dents/damage of any kind. If you don’t see any –good! You are able to keep going on your own!
4: Replacement: Put a new O-ring and washer in place of the old ones.
5: Reassemble: Go backwards from everything you just did and reassemble your faucet.
6: Test: Turn your water back on under the sink; turn water on and off and see if you’re still dripping!
No Drips? Woo Hoo! Still Dripping? Give Us a Call!
If you’ve followed these steps and you still have a leaking tap, you most likely have a bigger issue at hand and will need to call in a professional. At least you learned something new! There’s no need for sleepless nights; give us a call at John THE Plumber Kingston and we’ll send one of our knowledgeable and lovely Kingston plumbers to your home ASAP. We’re quick, efficient and happy to provide any further tips that we can while we visit – you’ll be sleeping like a baby in no time!
Call John The Plumber For All Your Plumbing Needs!
Your Local Plumbers When You Need Us The Most!
Near and far, John The Plumber and his team of licensed Kingston plumbers will travel to help customers with all residential plumbing services.
Kingston • Queens Acres • Hillview • Glenvale • Sharpton • Murvale • Elginburg • Kingston Mills • Shannons Corner • Mount Chesney • Eastview • Pitts Ferry • Inverary • Sunbury • Woodburn • Gananoque and BEYOND!
Looking For a Plumber in Your Neighbourhood? We have:
Plumbers in Kingston West • Plumbers in Kingston East • Plumbers in Kingston South
Not in Kingston? We also have:
Plumbers in Brockville • Plumbers in Merrickville • Plumbers in Ottawa


